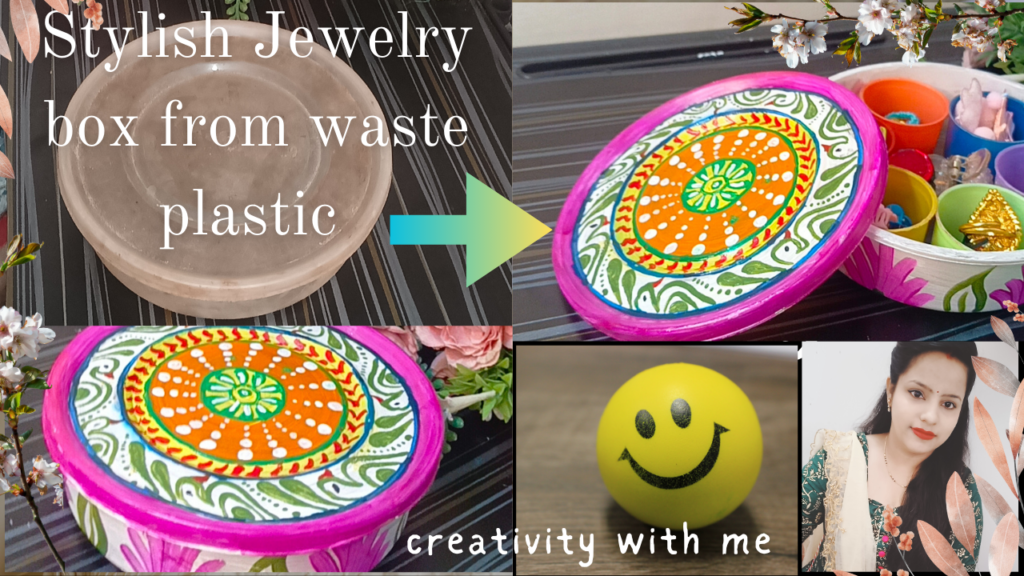
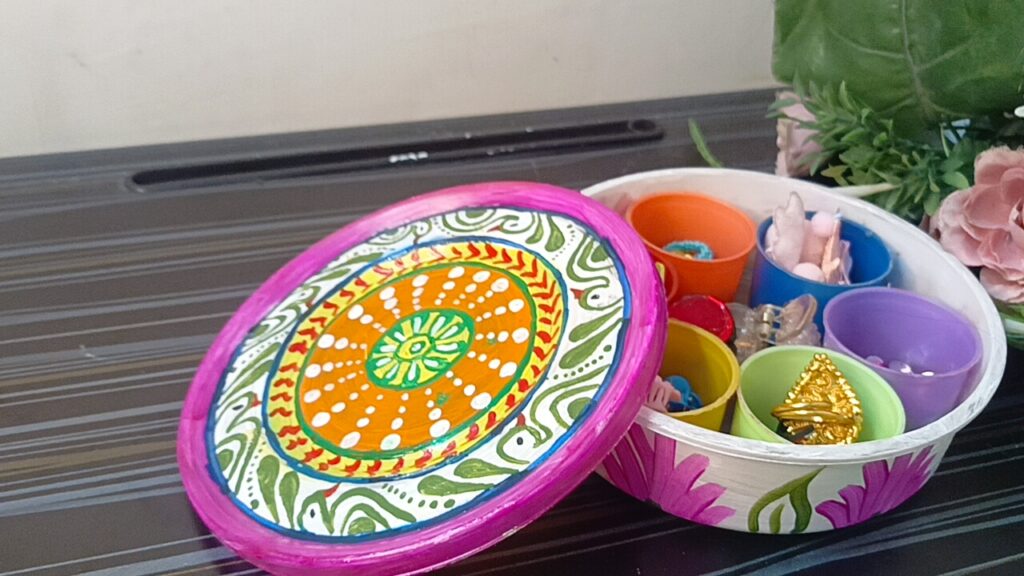
Here are the best tips to create a stylish box from waste plastic. Discover how to repurpose plastic into a chic storage solution with this easy DIY tutorial. Eco-friendly and creative!” Lets learn with a beautiful smile.
In a world where it’s increasingly important to be sustainable, upcycling is a great way to give new life to items that would otherwise end up in landfills. It’s not only good for the environment, but it also lets you be creative by transforming everyday objects into something both useful and beautiful.

What is Upcycling and Why Choose to create a stylish box from waste plastic?
Upcycling transforms waste materials or discarded items into new products of better quality or environmental value. This method is an excellent way to minimize waste and actively promote sustainability. Using plastic waste for DIY projects can have a significant impact on the environment. Why Choose to create a stylish box from waste plastic?
A waste plastic box is a great choice for upcycling into a jewelry(stylish) box for a few reasons. Plastic is tough and will protect your jewelry well. Many of us have plastic boxes lying around, like old food containers, makeup boxes, or packaging from recent purchases. Repurposing a plastic box into something beautiful is a fun and rewarding project that lets you personalize your space..
Materials You Will Need to create a stylish box from waste plastic:
Before we dive into the process, gather the following materials:
-
- Waste plastic box (any size or shape will do)
-
- Acrylic paint (in colors of your choice) https://amzn.in/d/8SpwDoj

-
- Primer (optional, but highly recommended for better paint adhesion)
-
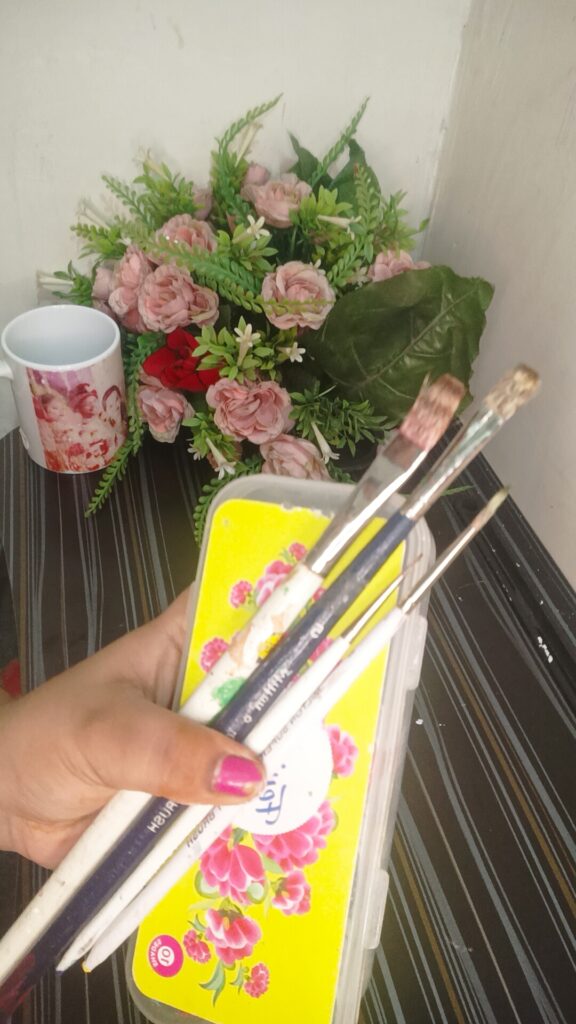
- Paintbrushes of varying sizes
-
- Water cup for cleaning brushes
-
- Acrylic paint varnish or another sealer to protect the paint
Once you’ve gathered your materials, you can create a stylish jewellery box from waste plastic.
Step 1: Preparing the Plastic Box for Painting
Before you begin painting, it’s important to prep your plastic box so that the paint adheres well and the final product looks polished. Follow these steps:
-
- Clean the plastic box: Remove any dirt, grease, or leftover adhesive from labels. You can use warm soapy water or rubbing alcohol to ensure the surface is clean.
-
- Apply a primer: While this step is optional, using a plastic primer will significantly improve the longevity and finish of your paint job. Spray or brush on the primer and let it dry completely before moving on to the next step.
Step 2: Three Creative Painting Techniques and 3 tips
Here’s where you can let your creativity shine. Painting is not only a way to beautify your jewelry box, but it also helps personalize it to match your décor or personal style. Below are some DIY painting tips and techniques to get you started:
1. Solid Color for a Sleek Finish
You can opt for a single solid color for a sleek, modern look. Choose a hue that complements your room or stands out as a bold statement. Use acrylic paint or spray paint for a smooth, even finish. Apply 2-3 thin coats, allowing each to dry before applying the next.
2. Two-Tone Magic
If you want a little more visual interest, consider painting the inside of the box one color and the outside another. This adds depth and makes the jewelry box more eye-catching when opened.
3. Stencil Designs
If you’re not confident in freehand painting, stencils are an excellent option. You can buy stencils in various shapes or make your own. Simply hold the stencil in place and use a sponge or brush to dab paint over it.
4. Freehand Designs
If you enjoy painting by hand, you can freehand designs such as floral patterns, vines, or abstract shapes. Use fine-tipped paintbrushes for detailed work and let your imagination run wild.
Step 3: Sealing and Finishing
Once you’ve finished painting and adding any decorations, it’s important to seal your jewelry box to protect your hard work.
3.1 Apply a Clear Sealer
Using Mod Podge or another clear sealer, apply a coat over the entire jewelry box to protect the paint and embellishments. This step ensures that your box will look gorgeous for years and then you can create a stylish box from waste plastic.
Repurposing Other Plastic Waste for Home Projects
Once you’ve create a stylish box from waste plastic, you may find yourself looking for other ways to repurpose plastic waste around your home. Here are a few more upcycling ideas for common plastic waste:
-
- Plant Pots: Old plastic containers can easily be turned into stylish pots for indoor plants with a bit of paint and creativity.
-
- Organizers: Repurpose old plastic boxes as drawer or shelf organizers to store makeup, stationery, or craft supplies.
-
- Kids’ Toy Storage: Large plastic containers can be painted and used to store children’s toys or art supplies.
-
- Decorative Vases: Use empty plastic jars or bottles as decorative vases. Just paint them to match your home’s aesthetic and add fresh or dried flowers.
Conclusion

Upcycling is more than just helping the environment; it’s also about creating something that is uniquely yours. With just a waste plastic box, a few simple materials, and some creative DIY painting tips, you can create a stylish box from waste plastic, that not only organizes your treasures but also adds a stylish touch to your space. By repurposing plastic waste, you can reduce your carbon footprint and contribute to a more sustainable world, one small project at a time. So gather your supplies, unleash your inner artist, and enjoy the magic of upcycling!
